Friday, June 15, 2007

Mirroring Text In Solidworks

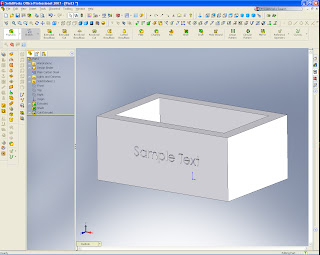
So you tried to take engraved or embossed text and mirror it and it shows up backwards, well there is a very simple way to mirror featured text and have it show up correctly.

The best way to achieve a mirror image of engraved or embossed text is to first create the feature where you want it extrude or cut it as you normally would.

Then create an axis centered both with the text and with the part. For example if you extruded a box on the Top Plane centered on the origin and created either an embosses or engraved text feature centered on one side, you would then create an axis using the Right and Front Planes.

After you have the Axis and the Text Feature that you need mirrored simply go to Features and Circular Pattern, leave the default at 360deg and the quantity of 2, select the Axis you created, then in “Features to Pattern” select your text. Walla, you are done my friend!






Wednesday, June 13, 2007

SolidWorks Pack and Go Feature

New in SolidWorks 2007 is a handy little feature called “Pack and Go”. What this feature allows you to do is take any assembly and send it to anyone automatically sending all of the Documents, Part files, COSMOS files and even PhotoWorks files that are linked to that assembly.

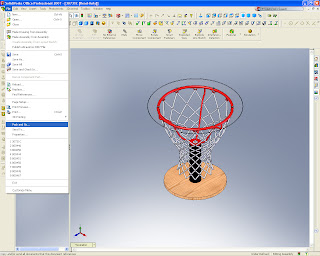
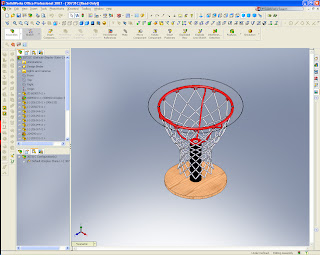
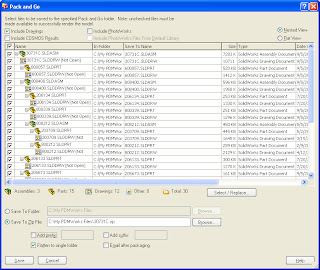
To use this feature open the assembly model and under “File” you should see “Pack and Go”, click on it। You will see a dialog box that lists all of the files linked to or that make up the assembly.


In the Pack and Go dialog box you will see many options। You can Include Drawings (which will include all drawings of all components and assemblies), COSMOS Results and PhotoWorks documents। Other options you have available in the Pack and Go dialog box are, “Save To Folder”, “Save To Zip File”, “Add prefix” and “Add suffix”।

To save the files to a folder just check the “Save To Folder” radio button and browse to a location on your computer or network.

To have the files zipped check the “Save to Zip File” radio button and browse to a location on your hard drive or network to save the zip file. If you check the “Save To Zip File” button you have an addition option available to you. You can check the “Email after packaging” box and that will automatically call up your email program and attach the file for you.

The “Add prefix” and “Add suffix” check boxes are used to change the names of the files by adding text or number before or after the file names. Don’t worry, this doesn’t effect the original files.

You also have the option to uncheck any document that you don’t want to have sent.
After you are done with the options that you chose just click “Save” and you are done.

Creating A Square Helix In SolidWorks

Creating a square Helix in SolidWorks sounds like it could be a challenge, but it's not, in fact it's pretty simple।


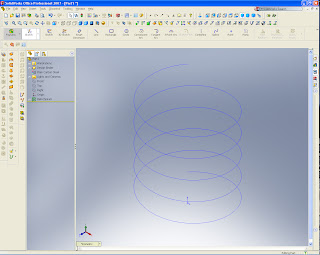
Step 1. Start out by drawing a circle and use the helix command to create your helix.


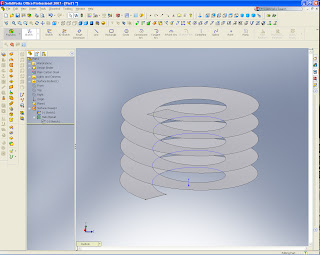
Step 2. Creat a sketch plane at the end of your helix (click the helix, hold "Ctrl" and click the end point of the helix). On your new sketch plane draw a stright line from the end point of your helix and use the surface sweep command and sweep the line about your helix.


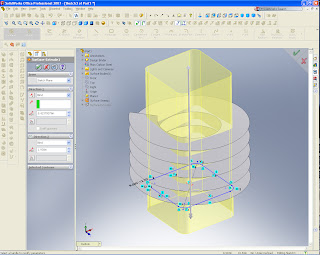
Step 3. Draw a square on the same plane as your helix, use the surface extrude command and extrude the square beyond your helix in both directions.


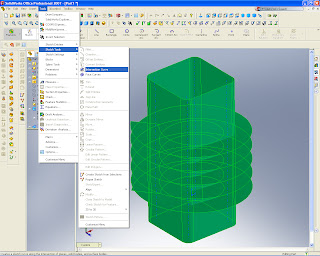
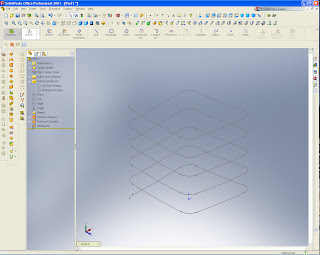
Step 4. Highlight the helix swept surface and the square surface extrude, go into Tools, Sketch Tools and Intersection Curve. This will create a 3D sketch of the intersecting surfaces. Hide the two surfaces you created in previous steps. What you will have left is a square helix path.


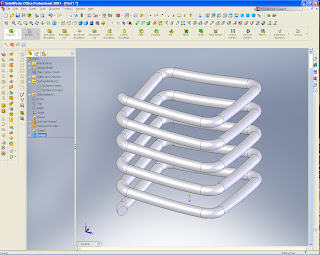
Step 5. Create a plane on the end of your profile just like you did with your helix। Draw your profile on that new plane। Use the Sweep command to do a solid sweep along your new path। That's it, you are done!